Getting Started
This guide will help you get VM-X AI up and running locally using Docker Compose. This is the fastest way to start exploring VM-X AI's features.
Prerequisites
Before you begin, ensure you have:
- Docker and Docker Compose installed
- At least 4GB of free RAM available
- Docker images built or pulled:
vmxai/api:latestvmxai/ui:latest
Quick Start
1. Pull Docker Images
Pull the published Docker images:
docker pull vmxai/api:latest
docker pull vmxai/ui:latest
2. Create Docker Compose File
Create a file named docker-compose.yml in a directory of your choice:
name: vm-x-ai-default

services:
  # -------------------------------
  # Next.js (UI)
  # -------------------------------
  ui:
    image: vmxai/ui:latest
    ports:
      - '3001:3001'
    environment:
      # Auth
      AUTH_URL: http://localhost:3001

      # Generated by `npx auth`. Read more: https://cli.authjs.dev
      AUTH_SECRET: 'iK0aiF1Hc57/P4Jym7Dz51sjlleE6onQXcAFBG7uvss'
      AUTH_OIDC_ISSUER: http://localhost:3000/oauth2
      AUTH_OIDC_CLIENT_ID: ui
      AUTH_OIDC_CLIENT_SECRET: ui
      AUTH_REDIRECT_PROXY_URL: http://localhost:3001/api/auth

      # API (network mode: host)
      API_BASE_URL: http://localhost:3000
    network_mode: host
    depends_on:
      - api

  # -------------------------------
  # Node.js (API)
  # -------------------------------
  api:
    image: vmxai/api:latest
    ports:
      - '3000:3000'
    depends_on:
      - postgres
      - redis
      - redis2
      - redis3
      - redis-cluster-init
    network_mode: host
    environment:
      LOCAL: true
      BASE_URL: http://localhost:3000

      # PG Database (config + audit + usage analytics all live here)
      DATABASE_HOST: localhost
      DATABASE_RO_HOST: localhost
      DATABASE_PORT: 5440
      DATABASE_USER: admin
      DATABASE_PASSWORD: password
      DATABASE_DB_NAME: vmxai

      # Redis cluster (network mode: host)
      REDIS_HOST: localhost
      REDIS_PORT: 7001
      REDIS_MODE: 'cluster'

      # Vault
      ENCRYPTION_PROVIDER: libsodium

      # Libsodium openssl rand -base64 32
      # Only used for development
      LIBSODIUM_ENCRYPTION_KEY: mPpddUYSuhIkuLq6MqeARZSEBZiwWm0HwEGQD5YSMFc=

      # UI
      UI_BASE_URL: http://localhost:3001

      # Optional OTel — point at your collector if you want application traces / metrics / logs.
      # Usage analytics do NOT depend on this; they read from Postgres request_audit.
      OTEL_LOG_LEVEL: error
      OTEL_EXPORTER_OTLP_ENDPOINT: http://localhost:4318

  # -------------------------------
  # Postgres (Database)
  # -------------------------------
  postgres:
    image: postgres
    ports:
      - '5440:5432'
    environment:
      POSTGRES_USER: 'admin'
      POSTGRES_PASSWORD: password
      POSTGRES_DB: vmxai

  # -------------------------------
  # Redis cluster — 3 nodes + init container
  # -------------------------------
  redis:
    image: redis:7
    ports:
      - '7001:7001'
      - '17001:17001'
    volumes:
      - ./redis-config/node1/redis.conf:/usr/local/etc/redis/redis.conf
    command: ['redis-server', '/usr/local/etc/redis/redis.conf']
    network_mode: host

  redis2:
    image: redis:7
    ports:
      - '7002:7002'
      - '17002:17002'
    volumes:
      - ./redis-config/node2/redis.conf:/usr/local/etc/redis/redis.conf
    command: ['redis-server', '/usr/local/etc/redis/redis.conf']
    network_mode: host

  redis3:
    image: redis:7
    ports:
      - '7003:7003'
      - '17003:17003'
    volumes:
      - ./redis-config/node3/redis.conf:/usr/local/etc/redis/redis.conf
    command: ['redis-server', '/usr/local/etc/redis/redis.conf']
    network_mode: host

  redis-cluster-init:
    image: redis:7
    depends_on:
      - redis
      - redis2
      - redis3
    entrypoint: >
      sh -c "
        sleep 5 &&
        echo yes | redis-cli --cluster create 127.0.0.1:7001 127.0.0.1:7002 127.0.0.1:7003 --cluster-replicas 0"
    network_mode: host
The API expects REDIS_MODE=cluster against a 3-node cluster (ports 7001/7002/7003). The redis-cluster-init sidecar runs redis-cli --cluster create once on first boot — wait a few seconds after docker compose up before the API starts accepting traffic. You'll also need a redis.conf per node (cluster-enabled, matching port + bus port) under ./redis-config/node{1,2,3}/. The repository ships ready-to-use configs at docker/redis-config/.
3. Start Services
Start all services:
docker compose up -d
The network_mode: host configuration is used for the UI, API, and Redis services to simplify networking in local development. This allows services to communicate using localhost directly. In production deployments (Kubernetes, ECS), you should use standard Docker networking instead.
Note for Mac users: Host networking is available on Docker Desktop for Mac starting with version 4.34. To enable it, go to Settings → Resources → Network and check the "Enable host networking" option.
This will start:
- UI on port
3001 - API on port
3000 - PostgreSQL on port
5440(config + audit logs + usage analytics) - Redis cluster on ports
7001/7002/7003
4. Wait for Services to Be Ready
Wait a few moments for all services to start. You can check the status:
docker compose ps
Check the API logs to ensure it's ready:
docker compose logs api | grep "Application is running"
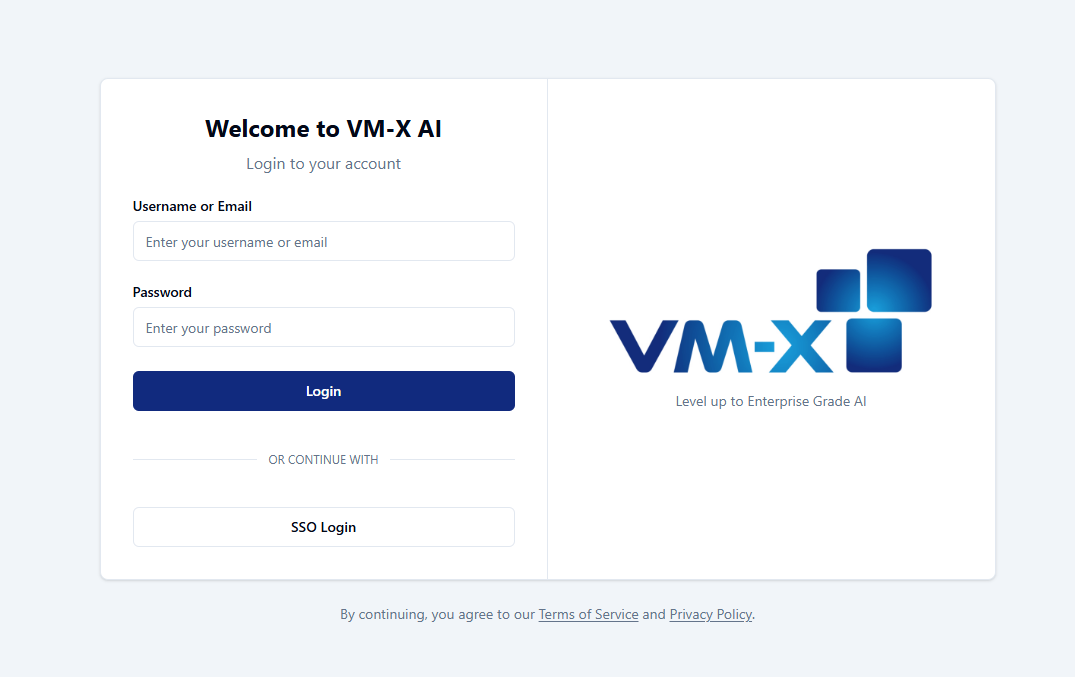
5. Access the Application
Open your browser and navigate to:
The default credentials are:
- Username:
admin - Password:
admin
Change the default credentials immediately after first login!
API Documentation
VM-X AI provides interactive API documentation via Swagger UI:
Swagger UI: http://localhost:3000/docs
The Swagger UI provides:
- Complete API reference
- Interactive API testing
- Request/response schemas
- Authentication testing
What's Next?
After logging in, you'll be guided through the setup process:
- Create a Workspace (if none exists)
- Create an Environment (if none exists)
- Create an AI Connection - Add your first AI provider
- Create an AI Resource - Configure your first resource
- Generate an API Key - Get an API key to use with your applications
Using the OpenAI-Compatible API
VM-X AI uses workspace and environment isolation for the completion API. The API endpoint includes the workspace ID and environment ID in the path.
Getting Your Workspace and Environment IDs
- Log in to the UI at http://localhost:3001
- Navigate to your workspace and environment
- Click on the SDK tab in the UI
- The SDK tab provides all the details you need, including:
- Workspace ID
- Environment ID
- API Key
- Complete code examples for Python, Node.js, and other languages
The SDK tab shows ready-to-use code snippets with your specific workspace and environment IDs pre-filled.
Code Examples
- Python
- Node.js
- cURL
from openai import OpenAI

workspace_id = "6c41dc1b-910c-4358-beef-2c609d38db31"
environment_id = "6c1957ca-77ca-49b3-8fa1-0590281b8b44"
resource_name = "your-resource-name"  # The name of your AI Resource

client = OpenAI(
    api_key="your-vmx-api-key-here",
    base_url=f"http://localhost:3000/v1/completion/{workspace_id}/{environment_id}"
)

response = client.chat.completions.create(
    model=resource_name,
    messages=[
        {"role": "user", "content": "Hello, world!"}
    ]
)

print(response.choices[0].message.content)
import OpenAI from 'openai';

const workspaceId = '6c41dc1b-910c-4358-beef-2c609d38db31';
const environmentId = '6c1957ca-77ca-49b3-8fa1-0590281b8b44';
const resourceName = 'your-resource-name'; // The name of your AI Resource

const openai = new OpenAI({
  apiKey: 'your-vmx-api-key-here',
  baseURL: `http://localhost:3000/v1/completion/${workspaceId}/${environmentId}`,
});

const completion = await openai.chat.completions.create({
  model: resourceName,
  messages: [{ role: 'user', content: 'Hello, world!' }],
});

console.log(completion.choices[0].message.content);
curl http://localhost:3000/v1/completion/{workspaceId}/{environmentId}/chat/completions \
  -H "Content-Type: application/json" \
  -H "Authorization: Bearer your-vmx-api-key-here" \
  -d '{
    "model": "your-resource-name",
    "messages": [
      {"role": "user", "content": "Hello, world!"}
    ]
  }'
Additional Docker Compose Configurations
For more advanced configurations, see the examples/docker-compose directory in the repository, which contains several pre-configured setups:
Available Configurations
-
Default Configuration (
default.docker-compose.yml)- Basic setup with all core services
- PostgreSQL + 3-node Redis cluster
- Libsodium encryption
- Usage analytics served from Postgres
request_audit(no separate time-series store)
-
OpenTelemetry Configuration (
otel.docker-compose.yml)- Adds full application-observability stack on top of the default
- OpenTelemetry Collector, Jaeger, Prometheus, Loki, Grafana
- Independent of the audit/usage data path
- See README for access URLs
-
AWS Services Configuration (
aws.docker-compose.yml)- Production-like setup using AWS services
- AWS KMS for credential encryption
- Requires AWS credentials configured
For detailed information about all configurations, see the Docker Compose Examples README.
Configuration
Environment Variables
Key environment variables for the API service:
| Variable | Description | Default |
|---|---|---|
BASE_URL | API base URL | http://localhost:3000 |
DATABASE_HOST | PostgreSQL host | localhost |
DATABASE_PORT | PostgreSQL port | 5440 |
REDIS_HOST | Redis host (cluster seed node) | localhost |
REDIS_PORT | Redis port (cluster seed node) | 7001 |
REDIS_MODE | Redis mode (single or cluster) | single |
ENCRYPTION_PROVIDER | Encryption provider (libsodium or aws-kms) | libsodium |
OIDC_FEDERATED_ISSUER | Optional OIDC issuer URL for SSO login | (unset) |
OTEL_EXPORTER_OTLP_ENDPOINT | OTLP endpoint for traces / metrics / logs (optional) | (unset) |
Database Credentials
Default credentials (change in production!):
-
PostgreSQL:
- User:
admin - Password:
password - Database:
vmxai
- User:
-
Redis cluster: No password (development only); seed node at
localhost:7001
Stopping Services
To stop all services:
docker compose down
To stop and remove volumes (⚠️ deletes data):
docker compose down -v
Troubleshooting
Port Conflicts
If you encounter port conflicts, you can modify the port mappings in the compose file:
ports:
  - '3001:3001' # Change 3001 to an available port
Services Not Starting
Check service logs:
# Check all logs
docker compose logs

# Check specific service
docker compose logs api
docker compose logs ui
Database Connection Issues
Ensure PostgreSQL is ready before the API starts:
# Check PostgreSQL status
docker compose ps postgres

# Check PostgreSQL logs
docker compose logs postgres
Next Steps
Now that you have VM-X AI running locally:
- Create Your First AI Connection - Add an AI provider
- Create Your First AI Resource - Configure routing and fallback
- Explore Features - Learn about all available features
- Deploy to Production - Deploy to Kubernetes or AWS
Additional Resources
- Docker Compose Examples README - Detailed information about all configurations
- Core Components - Understand AI Connections and Resources
- Architecture - Learn about the technical stack